Prepare your TapNLink module
Start with TapNLink Primer and the SensorDemo application board ("blue pill"). This process will work when connecting TapNLink to any application board with a Cortex M debug port and processor.
Note: to use other processors or for your final integration use the S3P connection and 2 GPIOs on your processor.
Connection of the boards
You will find here a description of the connection to link both the TapNLink module and the 'BluePill' demo board.
The "Sensor Demo" Application
Today, Primers are programmed to directly launch the Tap Manager mobile application. But it's the 'Sensor app Demo' which was previously associated with the Primer kit. This is an application generated automatically by the IoTize tools, which you can rebuild later (with your logo…).
To launch this application, you can install it from the Android and Apple stores: search for 'IoTize Sensor' on the App store or 'Sensor Demo' on the Play store, or use the redirection carried out by NFC if you connect directly in NFC.
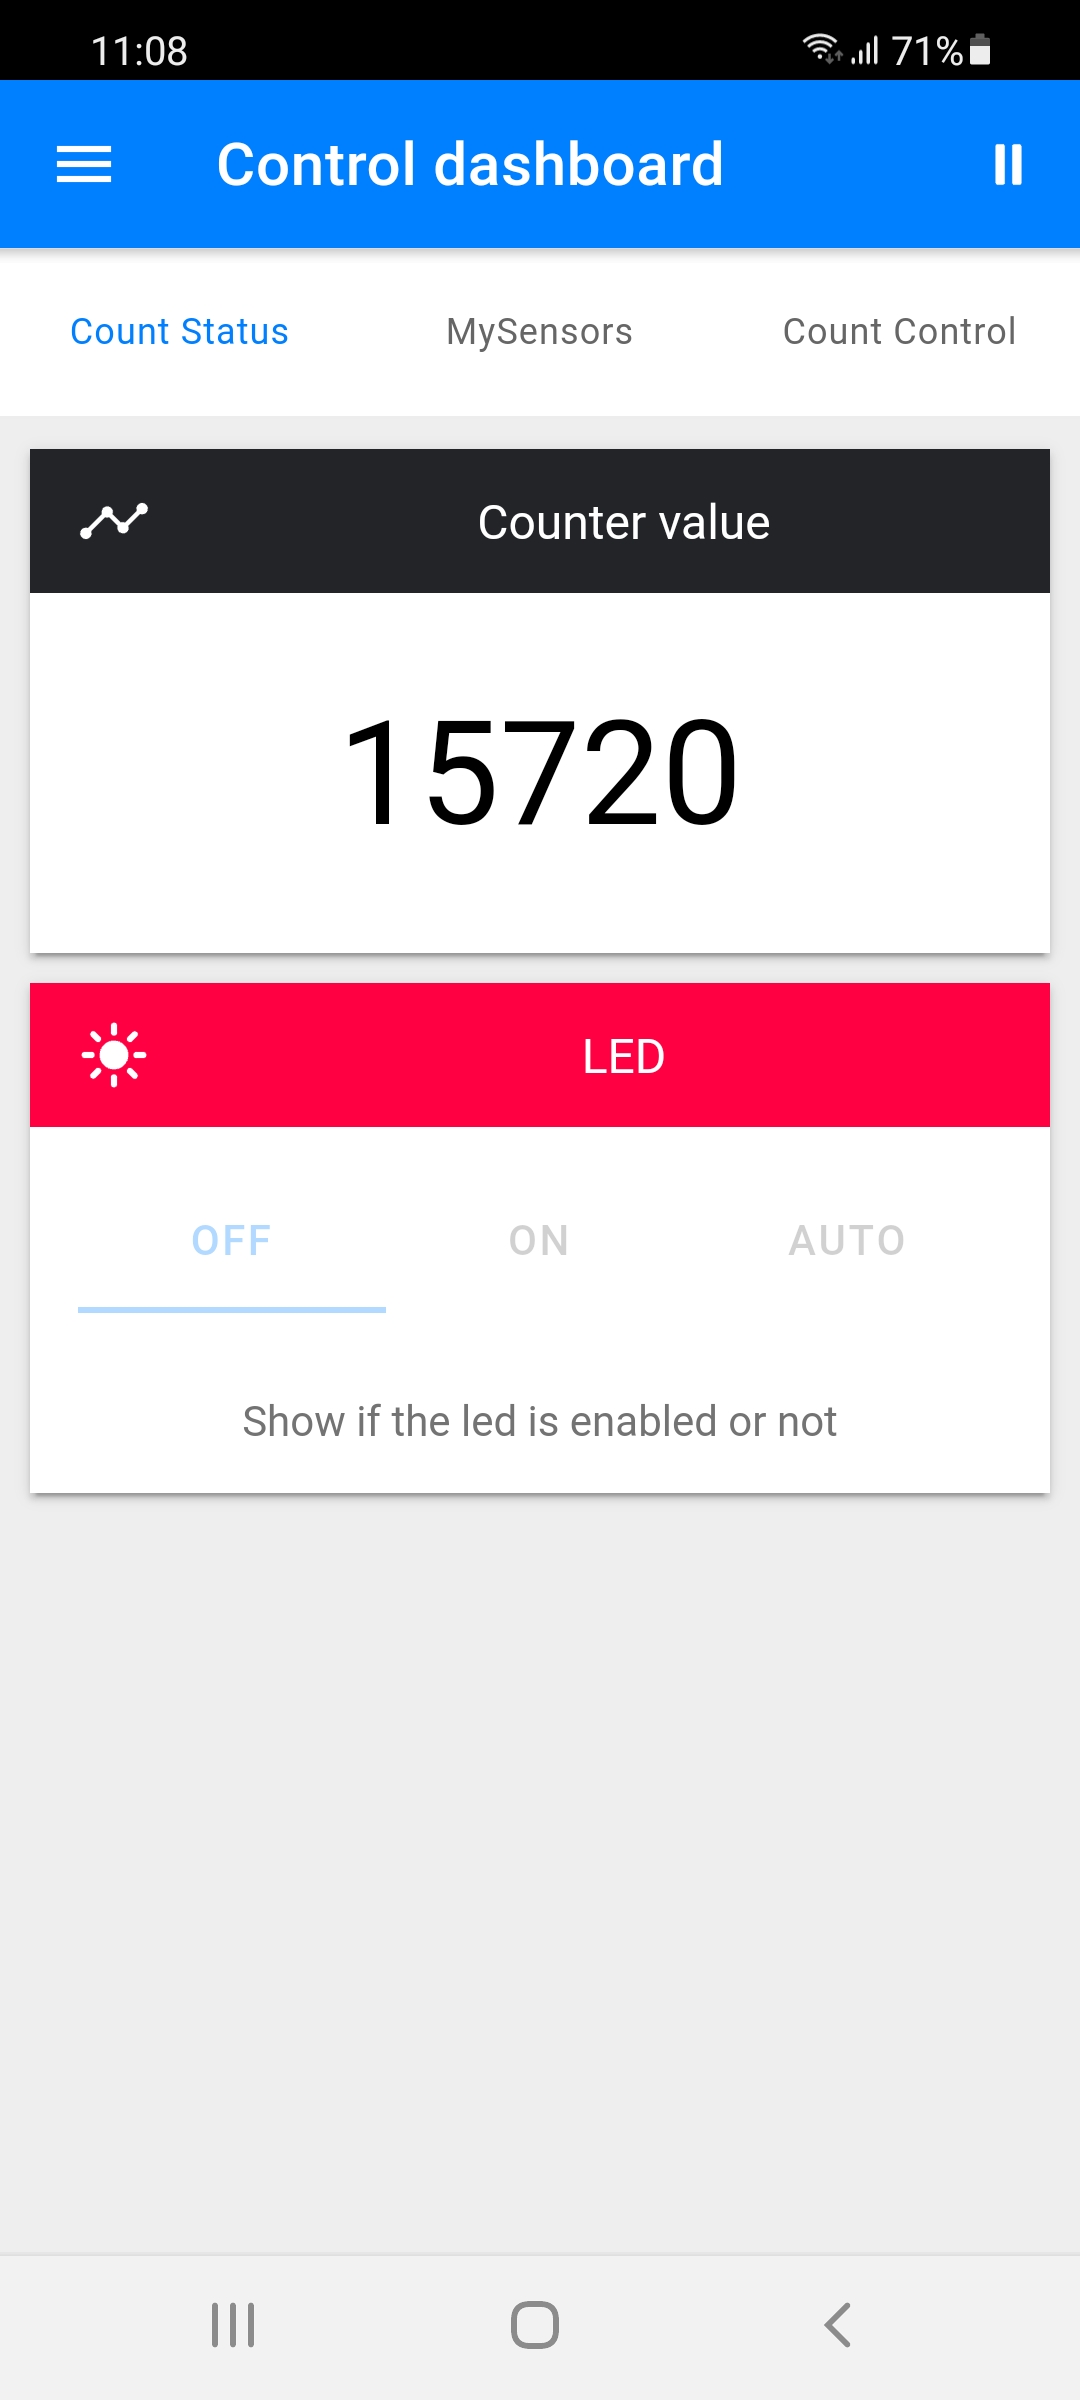
This application will allow you to familiarize yourself with the evaluation kit. Three tabs allow:
- View a counter ('Count Status' tab)
- To know the temperature of the chip and (tab 'My Sensors')
- Finally, modify the frequency or the blinking mode of LED present on the BluePill ('Count Control' tab).
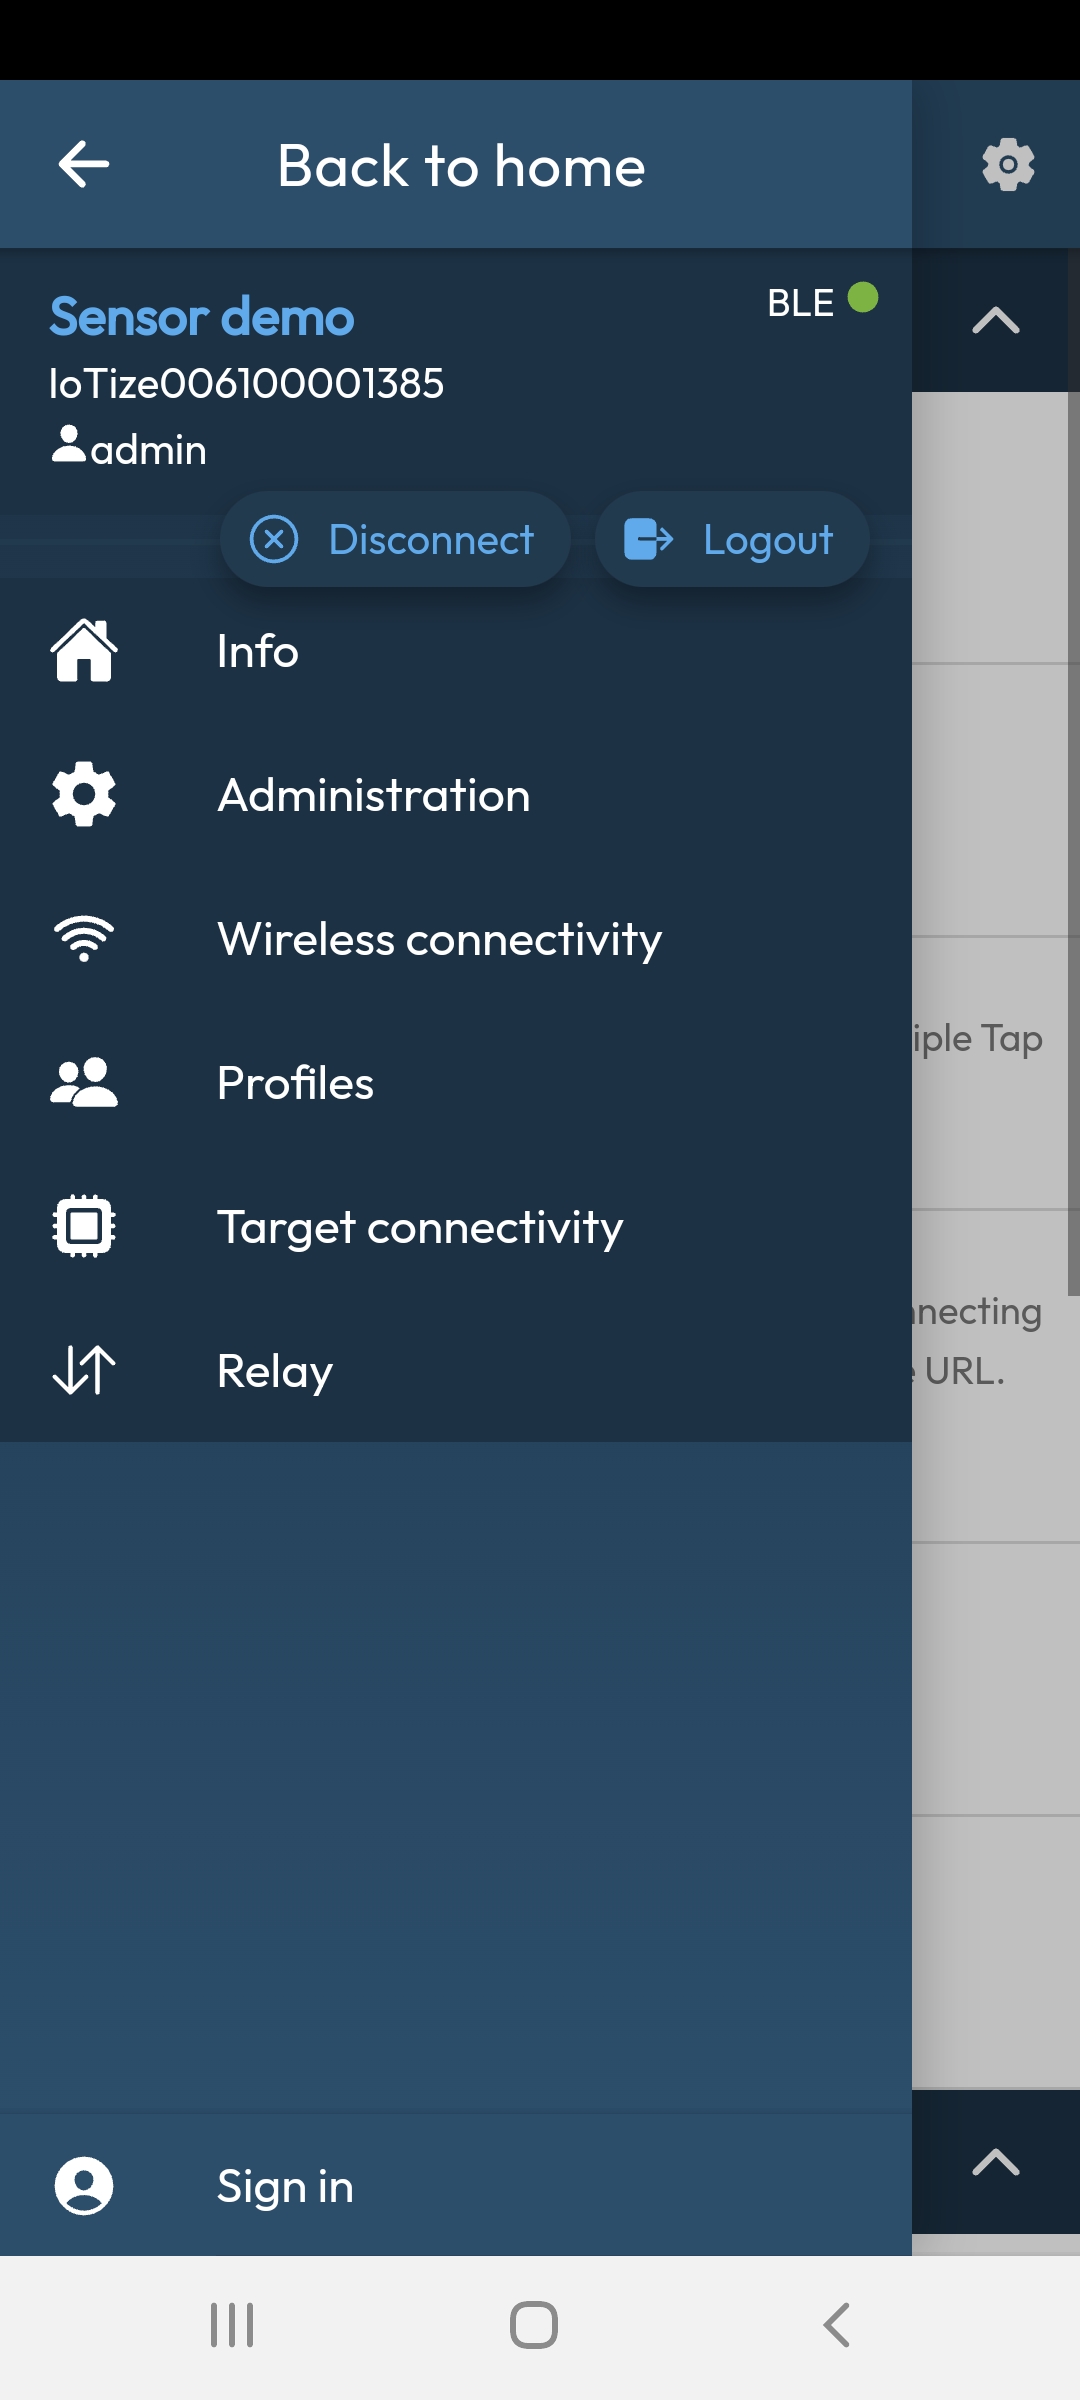
Note that to modify the blinking frequency with the slider, you must first log in as an administrator (login=admin and password =admin). In this tutorial, you will have to reconnect as 'admin' after each restart.
The symbol table
We will define the list of 'variables' to be read on the target board. For this we need to know their addresses, types, etc. This information can:
- Be created and edited manually,
- Or be imported from a file: CSV for Modbus, DBC for CAN, XML for SVD and ELF for embedded firmware connected to a TapNLink module .
In the case of the Primer kit, you can retrieve the ELF file that corresponds to the BluePill board firmware here:
https://iotize.com/pub/downloads/demos/STM32_Sensor.elf
Retrieve this STM32_Sensor.elf file and save it in a directory in your phone's FLASH (you will then have to find it).
You can do the same with the file:
https://iotize.com/pub/downloads/demos/STM32F103.SVD
but we will not use this last file a priori in our quick configuration : the SVD files contain the declarations of the hardware registers of the 'Cortex-M' microcontrollers, which are rarely useful outside the debug phases.
Once your file is ready on your computer, you need to copy it onto your mobile. Below several ways for this transfer:
-
if you use a 'drive application' on both your computer and your mobile (iCloud drive, One Drive,...) use it as a common location.
-
a second solution consists in copying your file onto a web site and then download it from this site.
-
Finally, you can attach the file to an email that you'll open from your mobile, then download/save it onto your mobile.
We now go back to the Tap Manager 'Getting Started'.
![]()