TapNLink modules
Different modules
Several TapNLink modules are available. They differ in the nature of the radio channels they support:
| Radio channel | Reference | |
|---|---|---|
| NFC only | TnL-FIT203 | 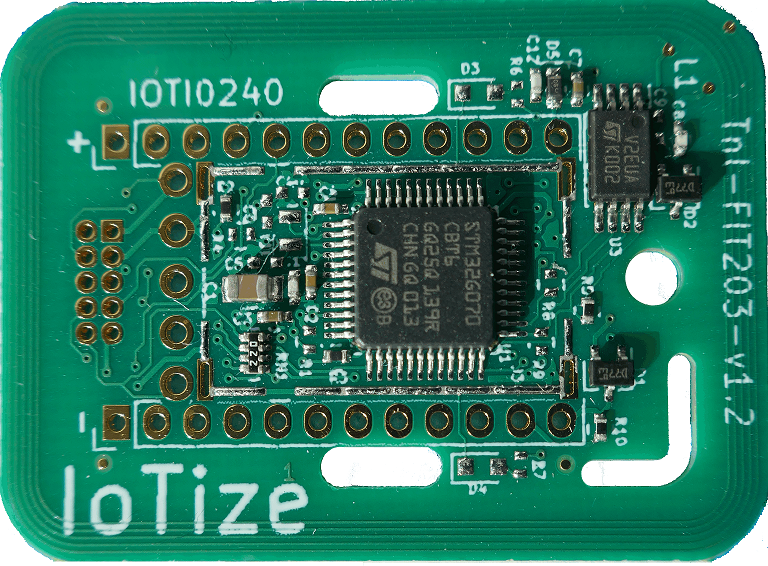 |
| NFC + BLE | TnL-FIR203 |  |
| NFC + LoRa | TnL-FIL203 |  |
| NFC + BLE + WiFi | TnL-FIW103 / TnL-FIW113 | 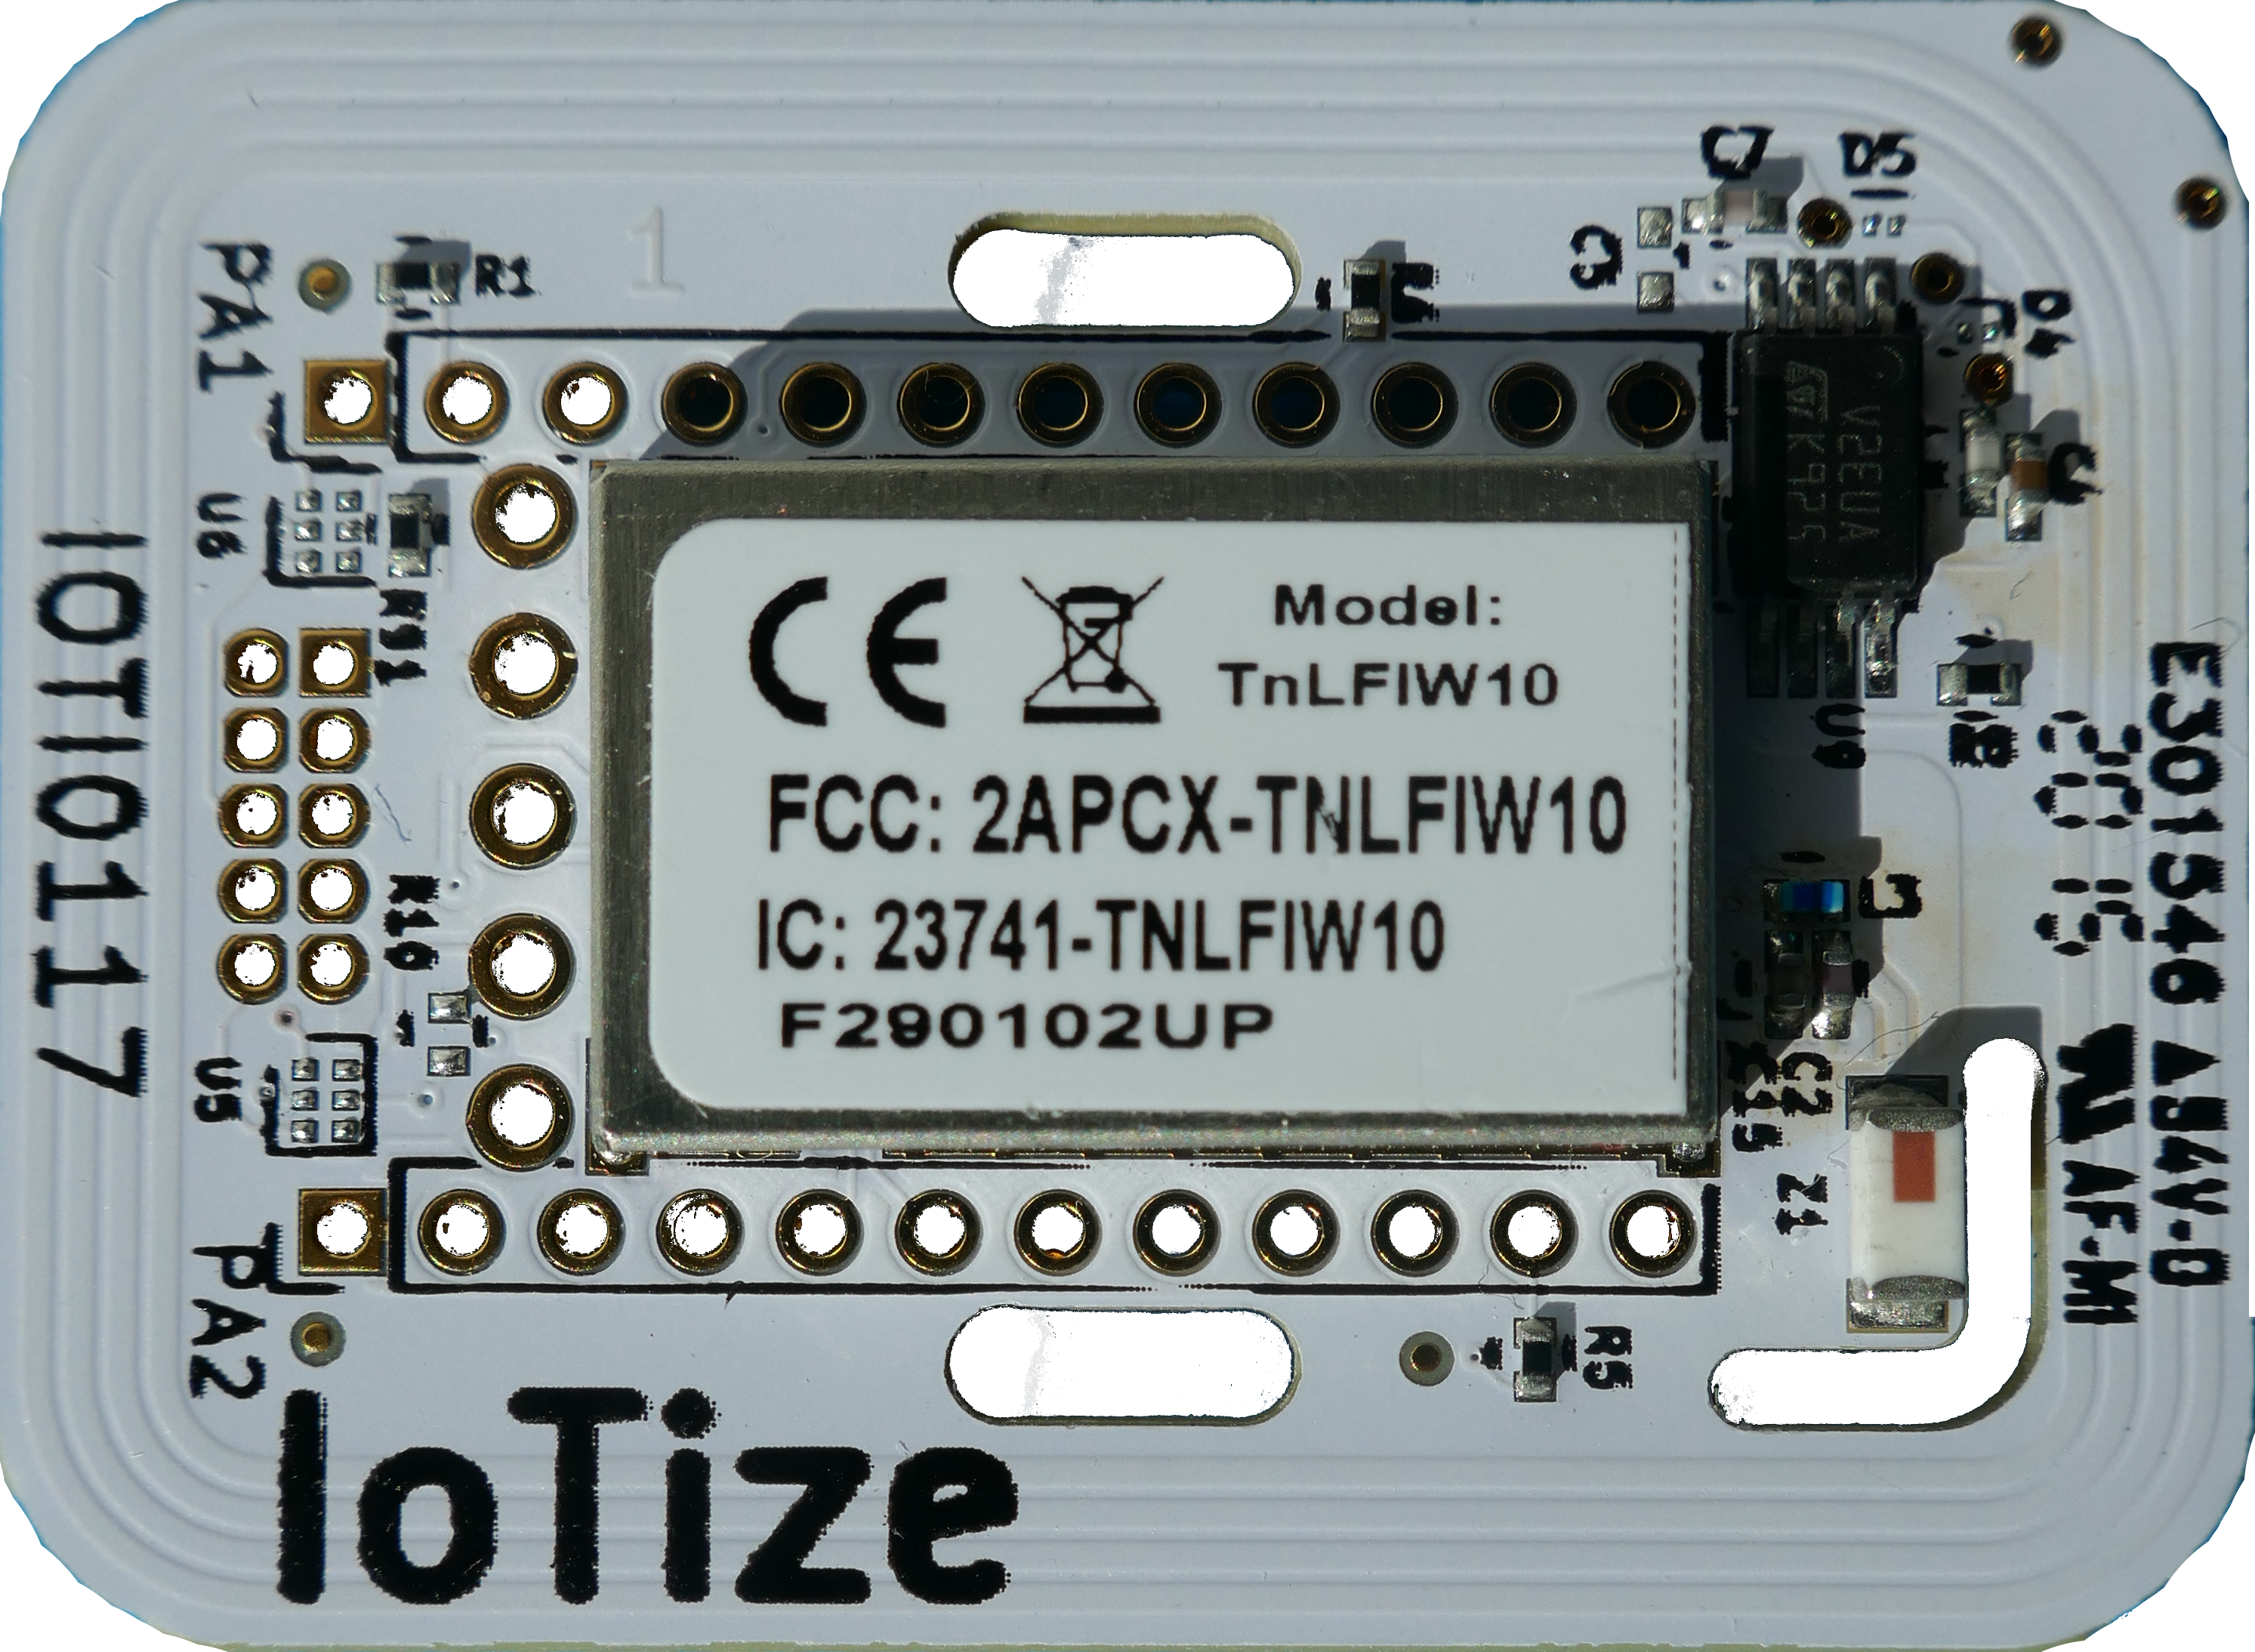 |
Role of NFC
It should be noted that NFC is still present in the modules presented. Indeed, NFC will make it possible to advantageously complement the other channels:
-
It can serve as an independent channel, for example for configuration.
-
Thanks to the AAR/URI mechanisms, it automatically launches the right mobile application as soon as a mobile phone is approached.
-
It can (optionally) be used to start the awakened channels (if they are in power down mode), or to establish a preliminary authentication.
-
It can (optionally) perform WiFi or BLE channel pairing. We then automatically switch from NFC to BLE (or WiFi) for greater comfort.
-
It can also make the creation of encryption keys even more secure.
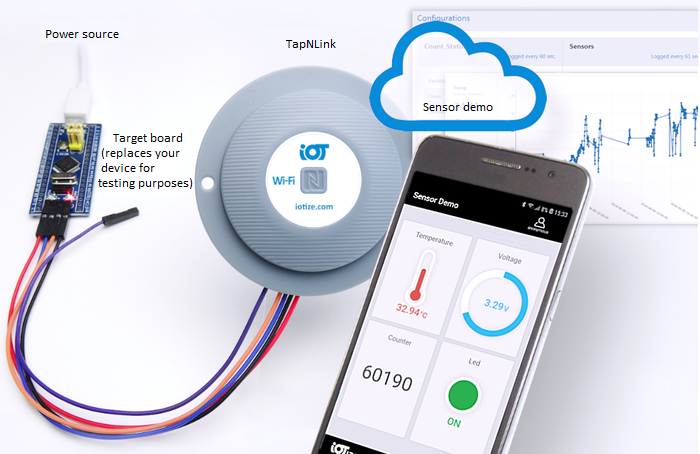
TapNLink Primer Kit
Iotize provides a 'Primer Kit' to start immediately with a TapNLink module. In that case, we recommend that you start by looking at our demonstration which uses the Primer kit's Target board instead of your own device. The STM32 Sensor Demo application is pre-programmed in the IoTize Primer kit target board and is used in the Getting Started examples. To discover this kit:
- Open the Demonstration interface. This page will show you how to connect your tap and how to use it.
- If you have an Apple device checkout how its behaviour differs from Androids when using IoTize products.
- Then follow the discovery path for your Tap, described in dedicated sections below.
Different wire connectivities
In this wizard, we will use only SWD as wire connectivity. Protected by a patent, this mode provides the only possible way for a comprehensive No Code solution. Indeed, you can build your first mobile App without modifying neither your hardware (connection to the existing debug port), nor your firmware (you just need to load your existing ELF file).
However, several other types of wire connectivity are available:
| Connectivity | Requirements | Comments |
|---|---|---|
| S3P | 2 GPIOs | As quick and secure alternative to SWD |
| Modbus | UART or LAN | Both Master or Slave modes are supported |
| CAN | CAN controller | Must be used on a CAN environment |
| SPI | SPI controller | Used in slave mode only |
💡 Note:
-
for S3P and Modbus, source files are automatically generated by Iotize Studio.
-
SWD and S3P must be used in master mode only (the TapNLink module will send read/write requests to an external target MCU).
-
CAN, SPI and Modbus can be used either in master or slave mode (external device access to InTap variables).
-
Transparent UART mode is also available,
-
it is easily possible thru a Java driver to add I2C/SPI connectivity and/or to manage specific UART protocols.