Raw BLE
This example shows how to use low level BLE nodes to communicate with a BLE (server) device. It implements Duetware's lwM2M commands simply because it is considered that the majority of users have at least one TapNLink Primer kit or a Tapioca in their possession, but the elementary nodes used are not related to the Duetware environment in any way. They can therefore be adapted to different BLE devices without the IoTize lwM2M implementation.
Hardware
You need any BLE device to see the result of the SCAN command. To go further and launch certain lwM2M commands, you will need a TapNLink (or Tapioca) module. Indeed, a filter is defined to select the only TapNLink BLE service and communicate through its characteristics.
UI components
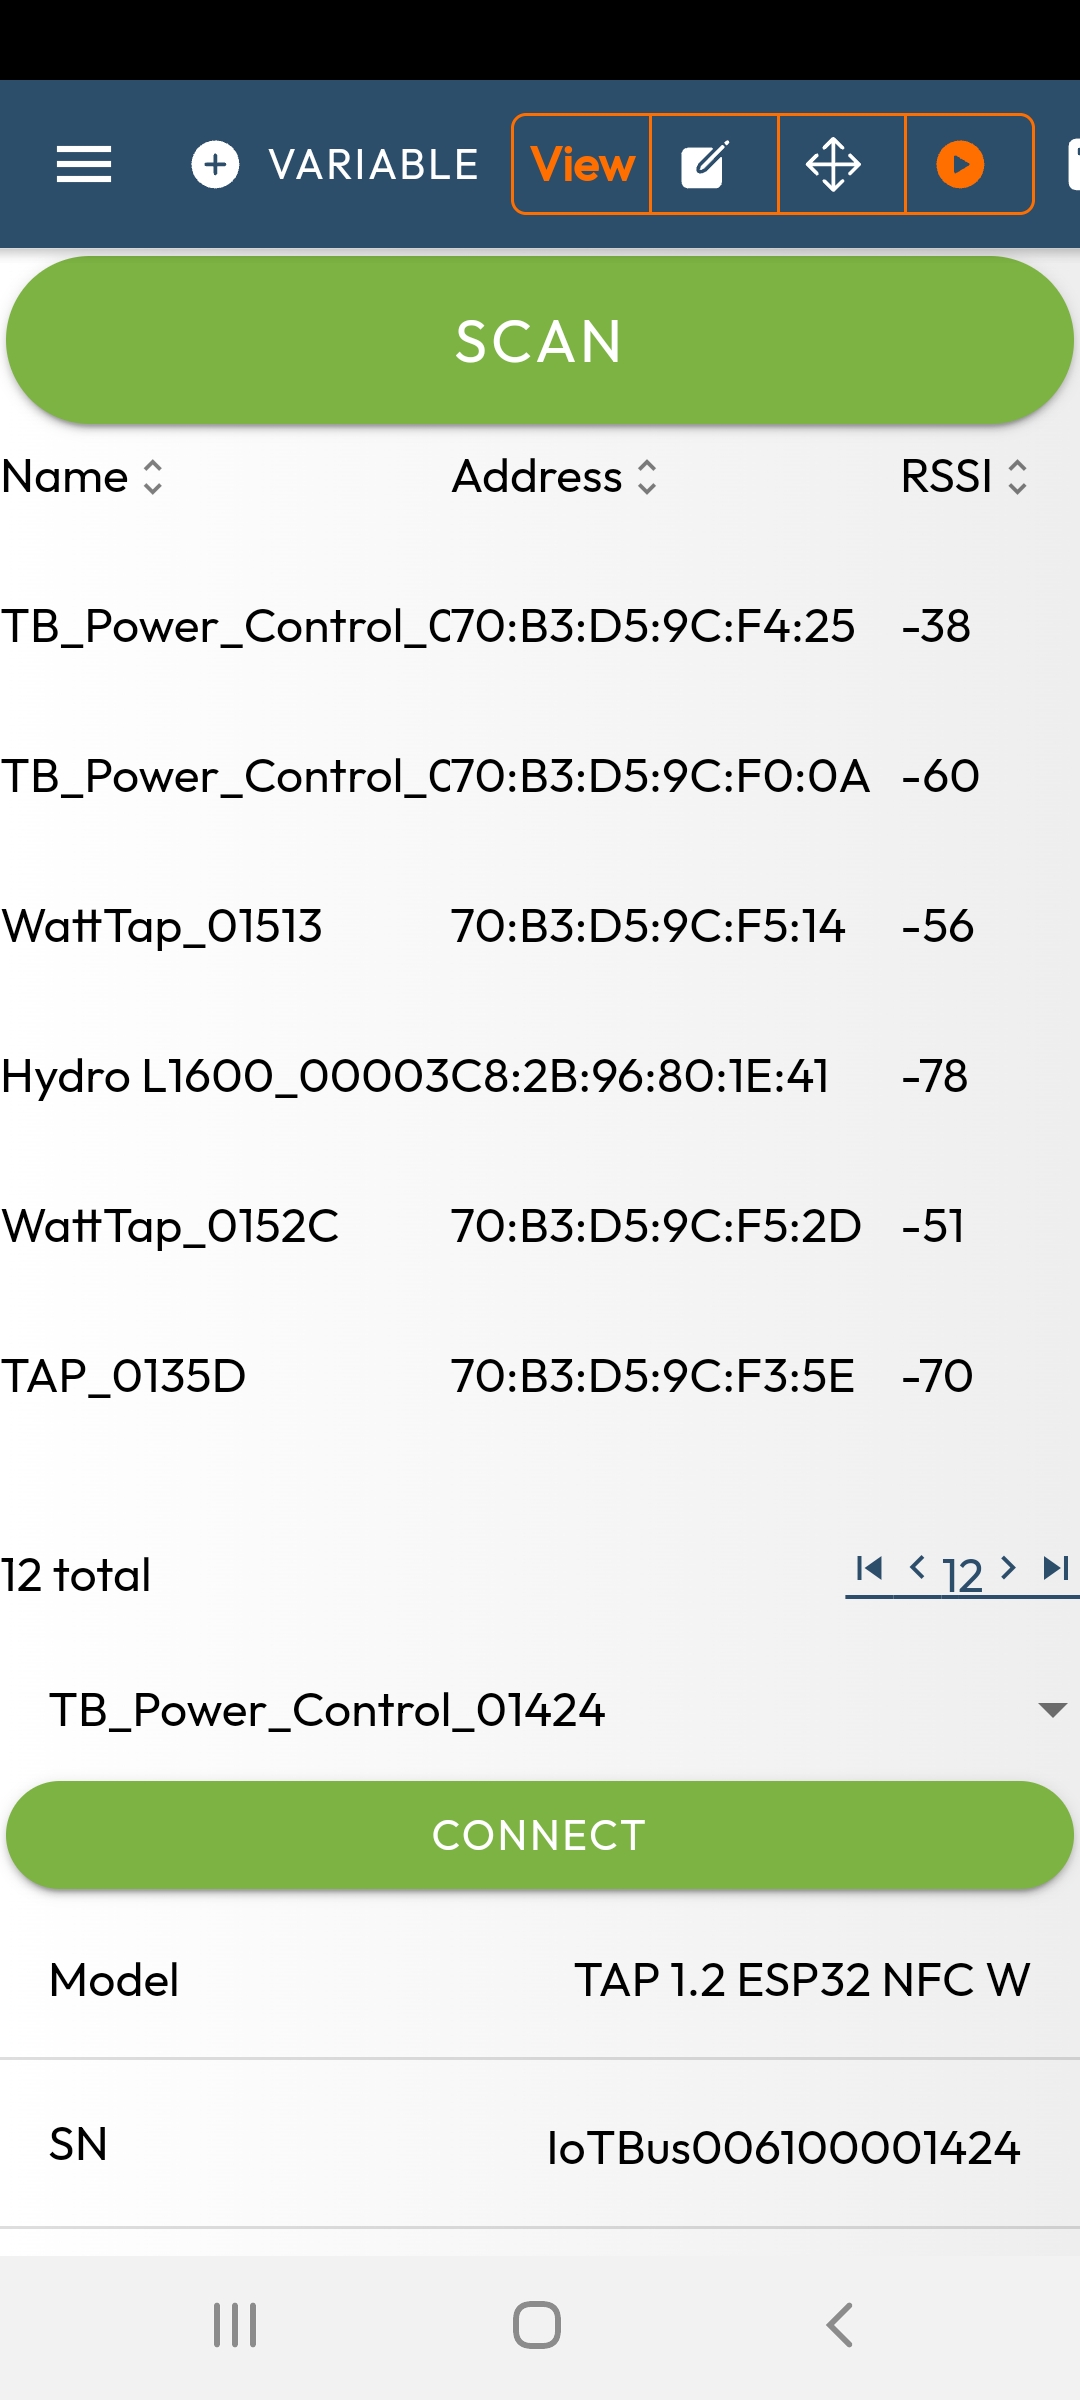
The SCAN process is statred by clicking on the SCAN button. It will fill a table with the list of the found BLE devices. Then a select component allows to specify one of the elements of the table, and the Connect button will launch a serie of lwM2M commands in order to read the model of the Tap, its serial Number and its firmware version.
Dataflow graph
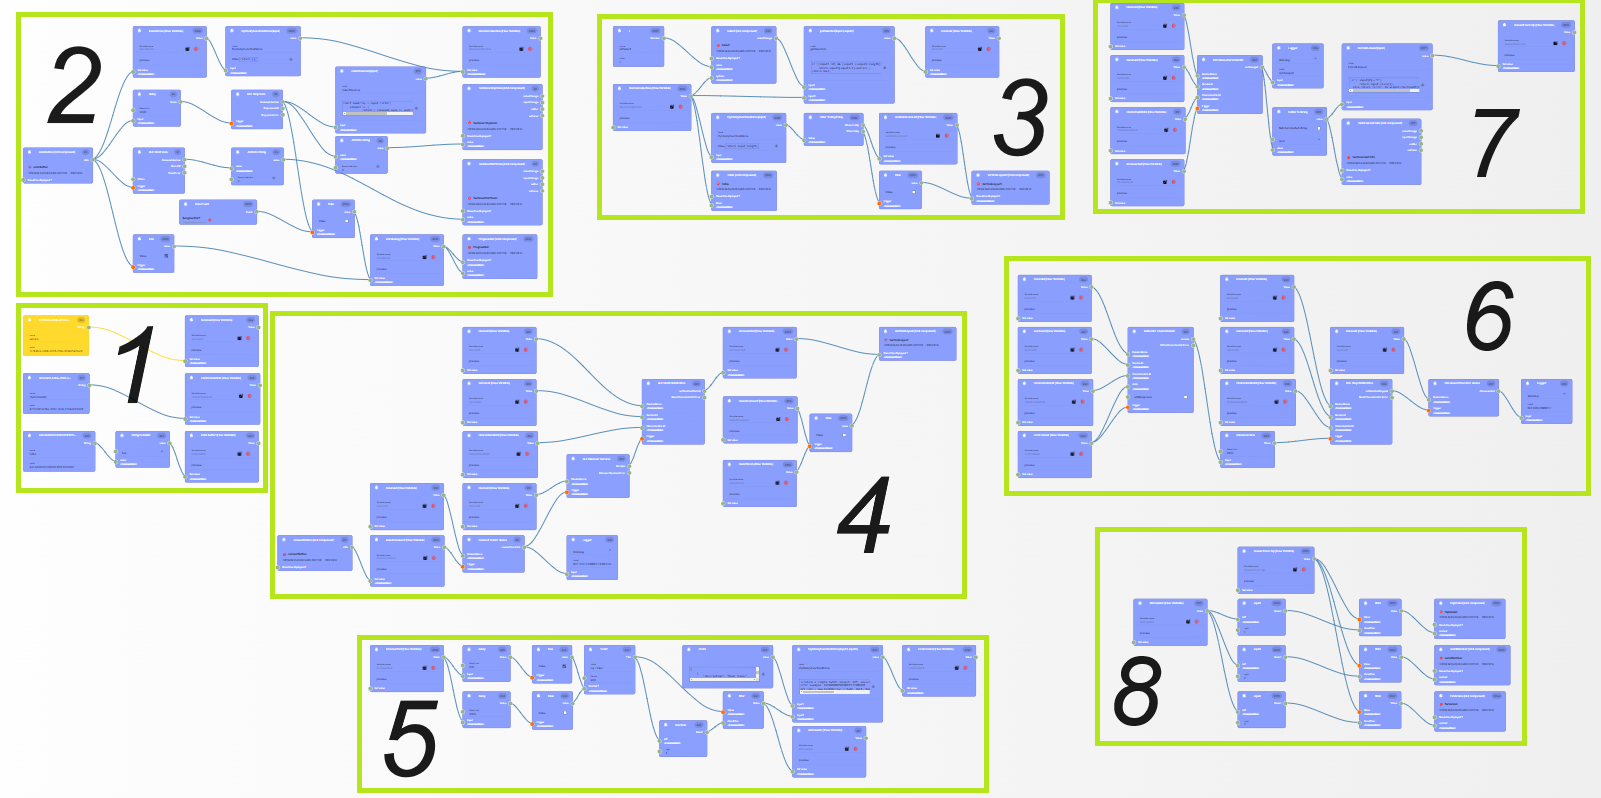
We can consider the different areas in the graph:
-
UID definitions (nodes #16, #17, #25) to specify the BLE service and its characteristics.
-
SCAN launch: the button (#2) starts the scan process through the BLE Start Scan node (#1).
-
The result of the SCAN process is filled in a JSON file and linked to the variable at node #285. The select graphical component is also updated with this list.
-
The Connect button starts the connection and starts the service if available.
-
The lwM2M commands are prepared into the variable CmdToSend (#134)
-
then sent through the node Write BLE characteristic (#13),
-
The answer from the Tap is read thanks to the Listen BLE characteristic node
-
and the answers are then dispatched and displayed into the right graphical components (#262, #263 and #264)