Getting Started With Tapioca
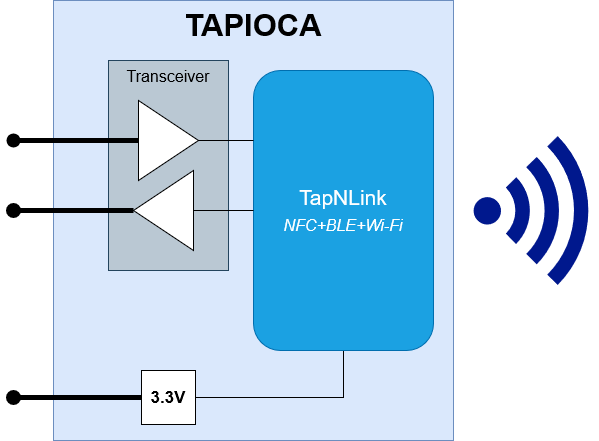
A Tapioca gateway is schematically made up of a TapNLink module, a transceiver and a voltage regulator for the power supply.
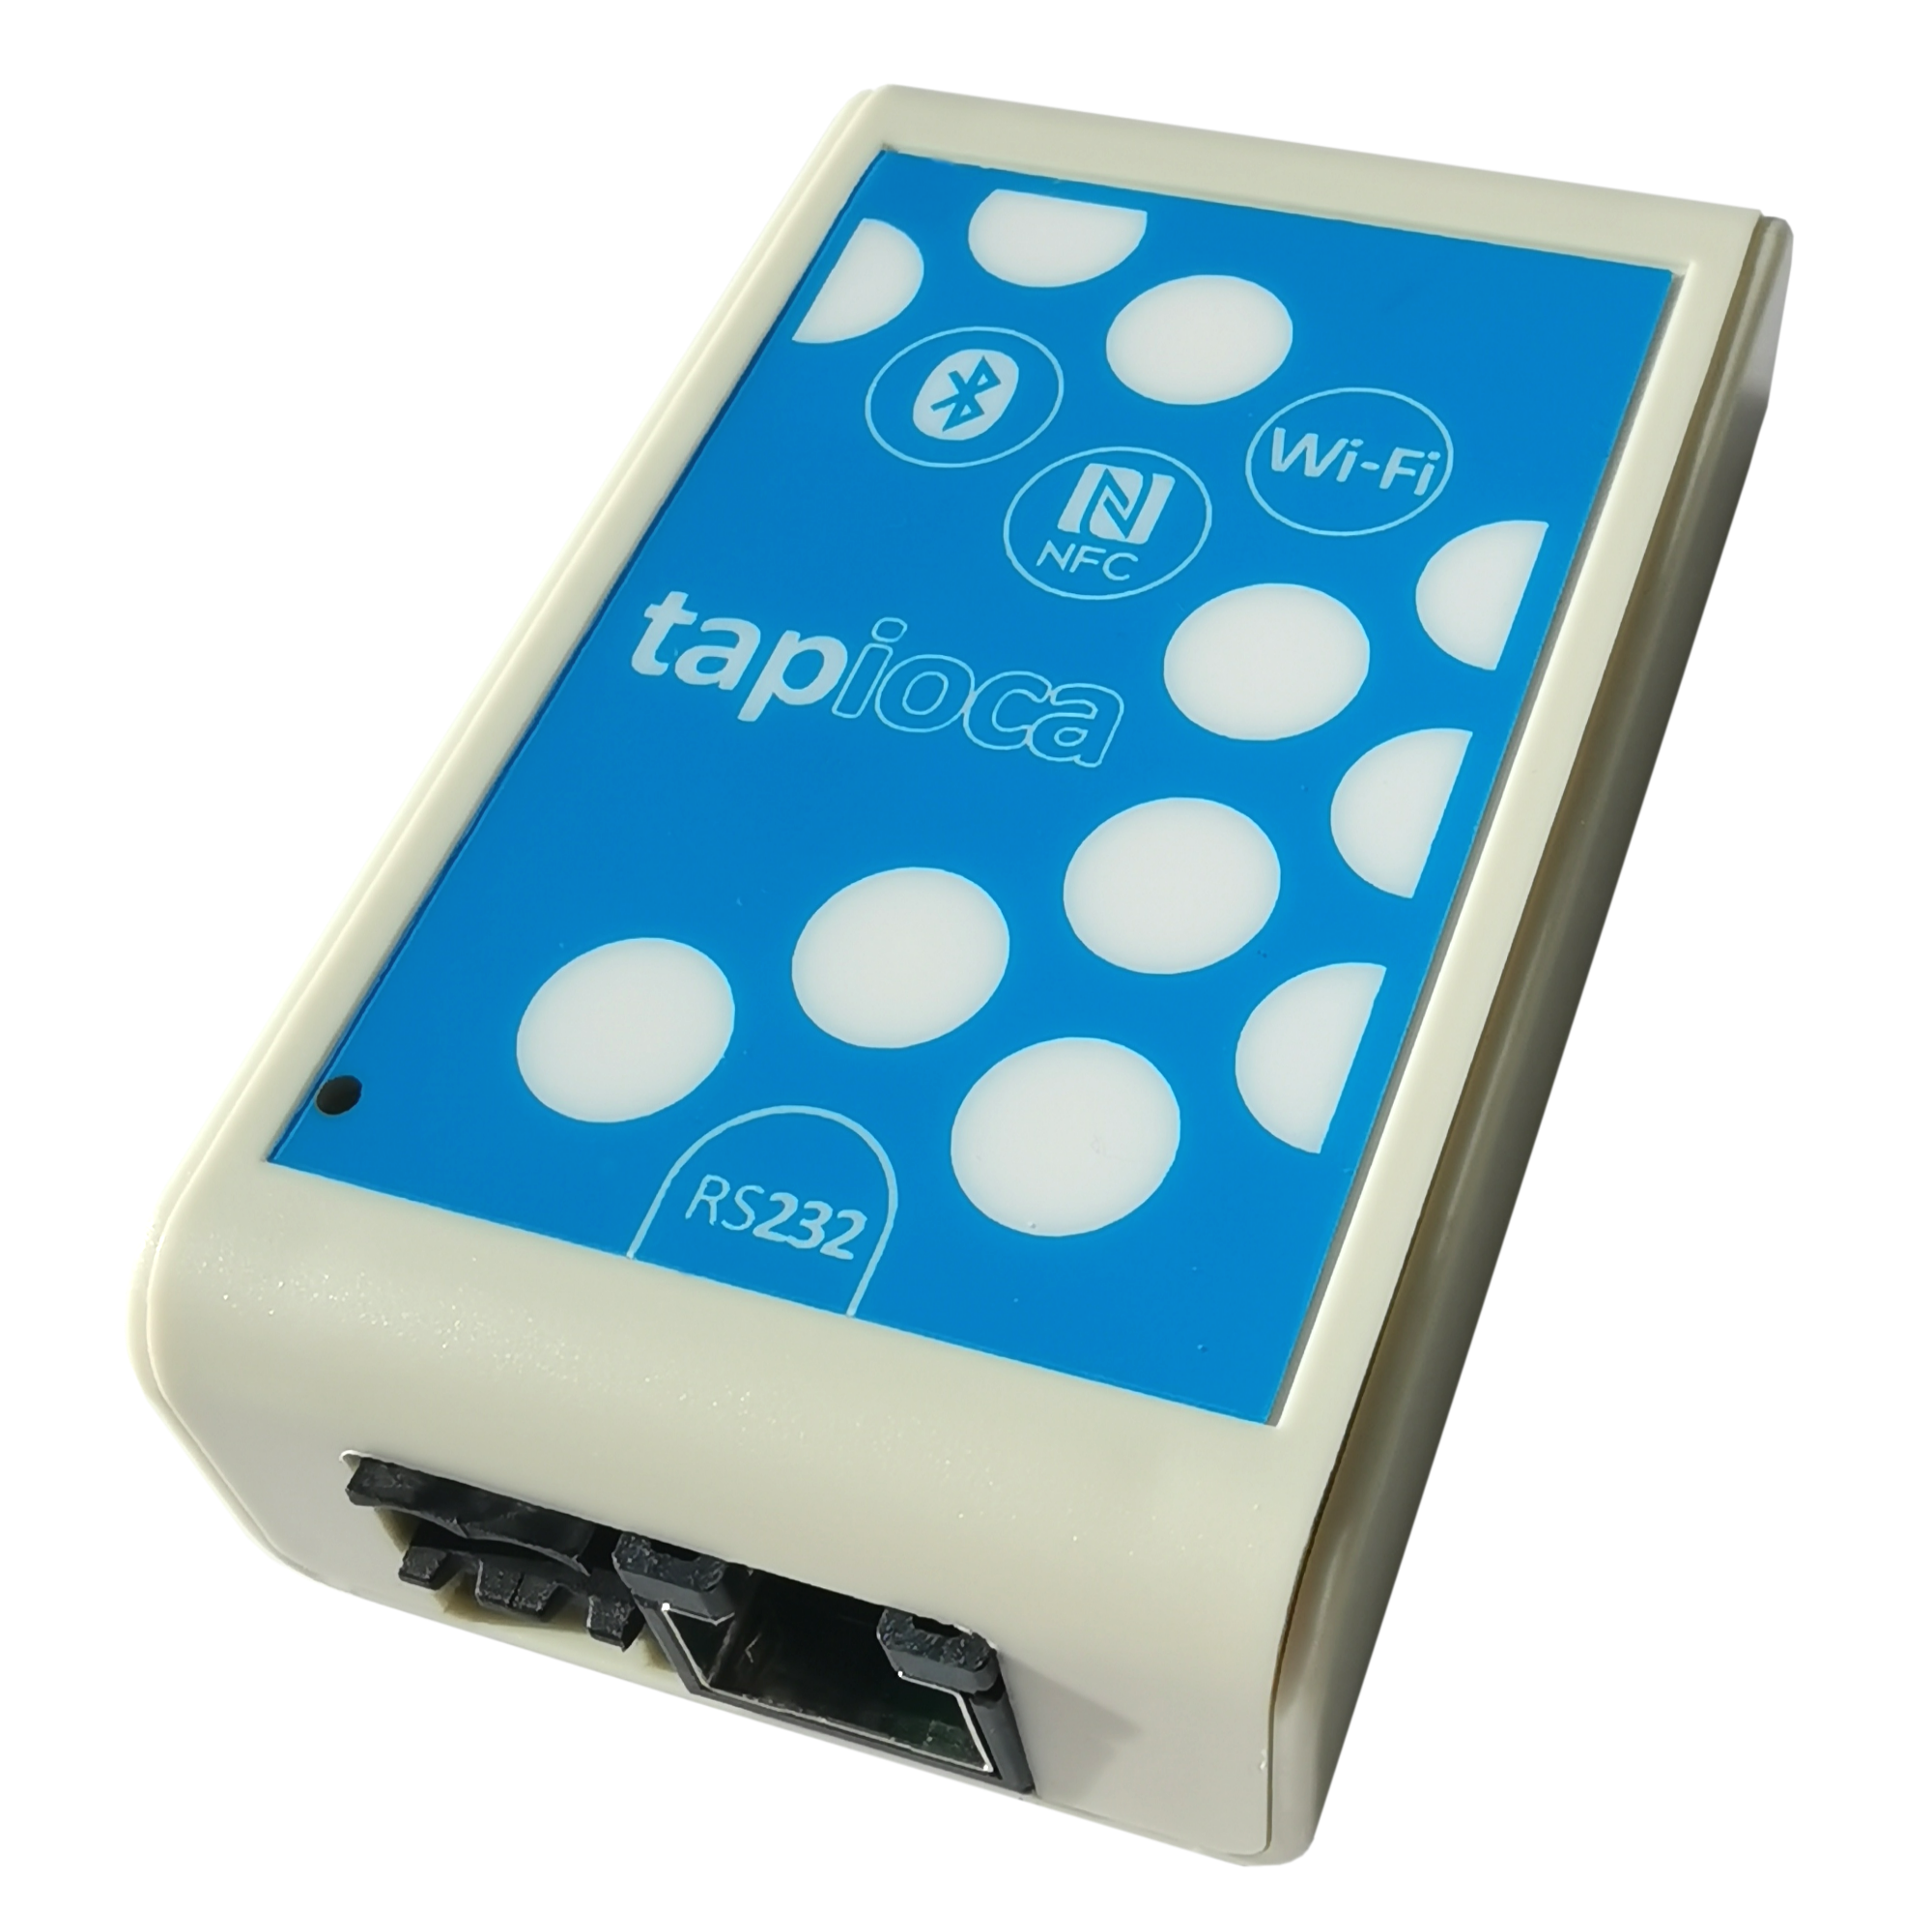
Depending on the transceivers, the different models of Tapioca can handle different types of links used in the industry: RS485, RS232, USB (device), CAN or Ethernet:
| Reference | Wire link | Case | Wireless protocols |
|---|---|---|---|
| TpC-FS0W123 | USB | Standard | NFC+ BLE + Wi-Fi |
| TpC-FS2W123 | RS-232 | Standard | NFC+ BLE + Wi-Fi |
| TpC-FS4W123 | RS-485 | Standard | NFC+ BLE + Wi-Fi |
| TpC-FC0W123 | CAN | Standard | NFC+ BLE + Wi-Fi |
| TpC-FE0W123 | Ethernet | Standard | NFC+ BLE + Wi-Fi |
| --------------- | ----------- | ----------- | ----------------------- |
| TpC-PS0W123 | USB | IP67 | NFC+ BLE + Wi-Fi |
| TpC-PS2W123 | RS-232 | IP67 | NFC+ BLE + Wi-Fi |
| TpC-PS4W123 | RS-485 | IP67 | NFC+ BLE + Wi-Fi |
| TpC-PC0W123 | CAN | IP67 | NFC+ BLE + Wi-Fi |
| TpC-PE0W123 | Ethernet | IP67 | NFC+ BLE + Wi-Fi |
| TpC-PE0W123 | Ethernet+RS-485 | IP67 | NFC+ BLE + Wi-Fi |
Notes:
-
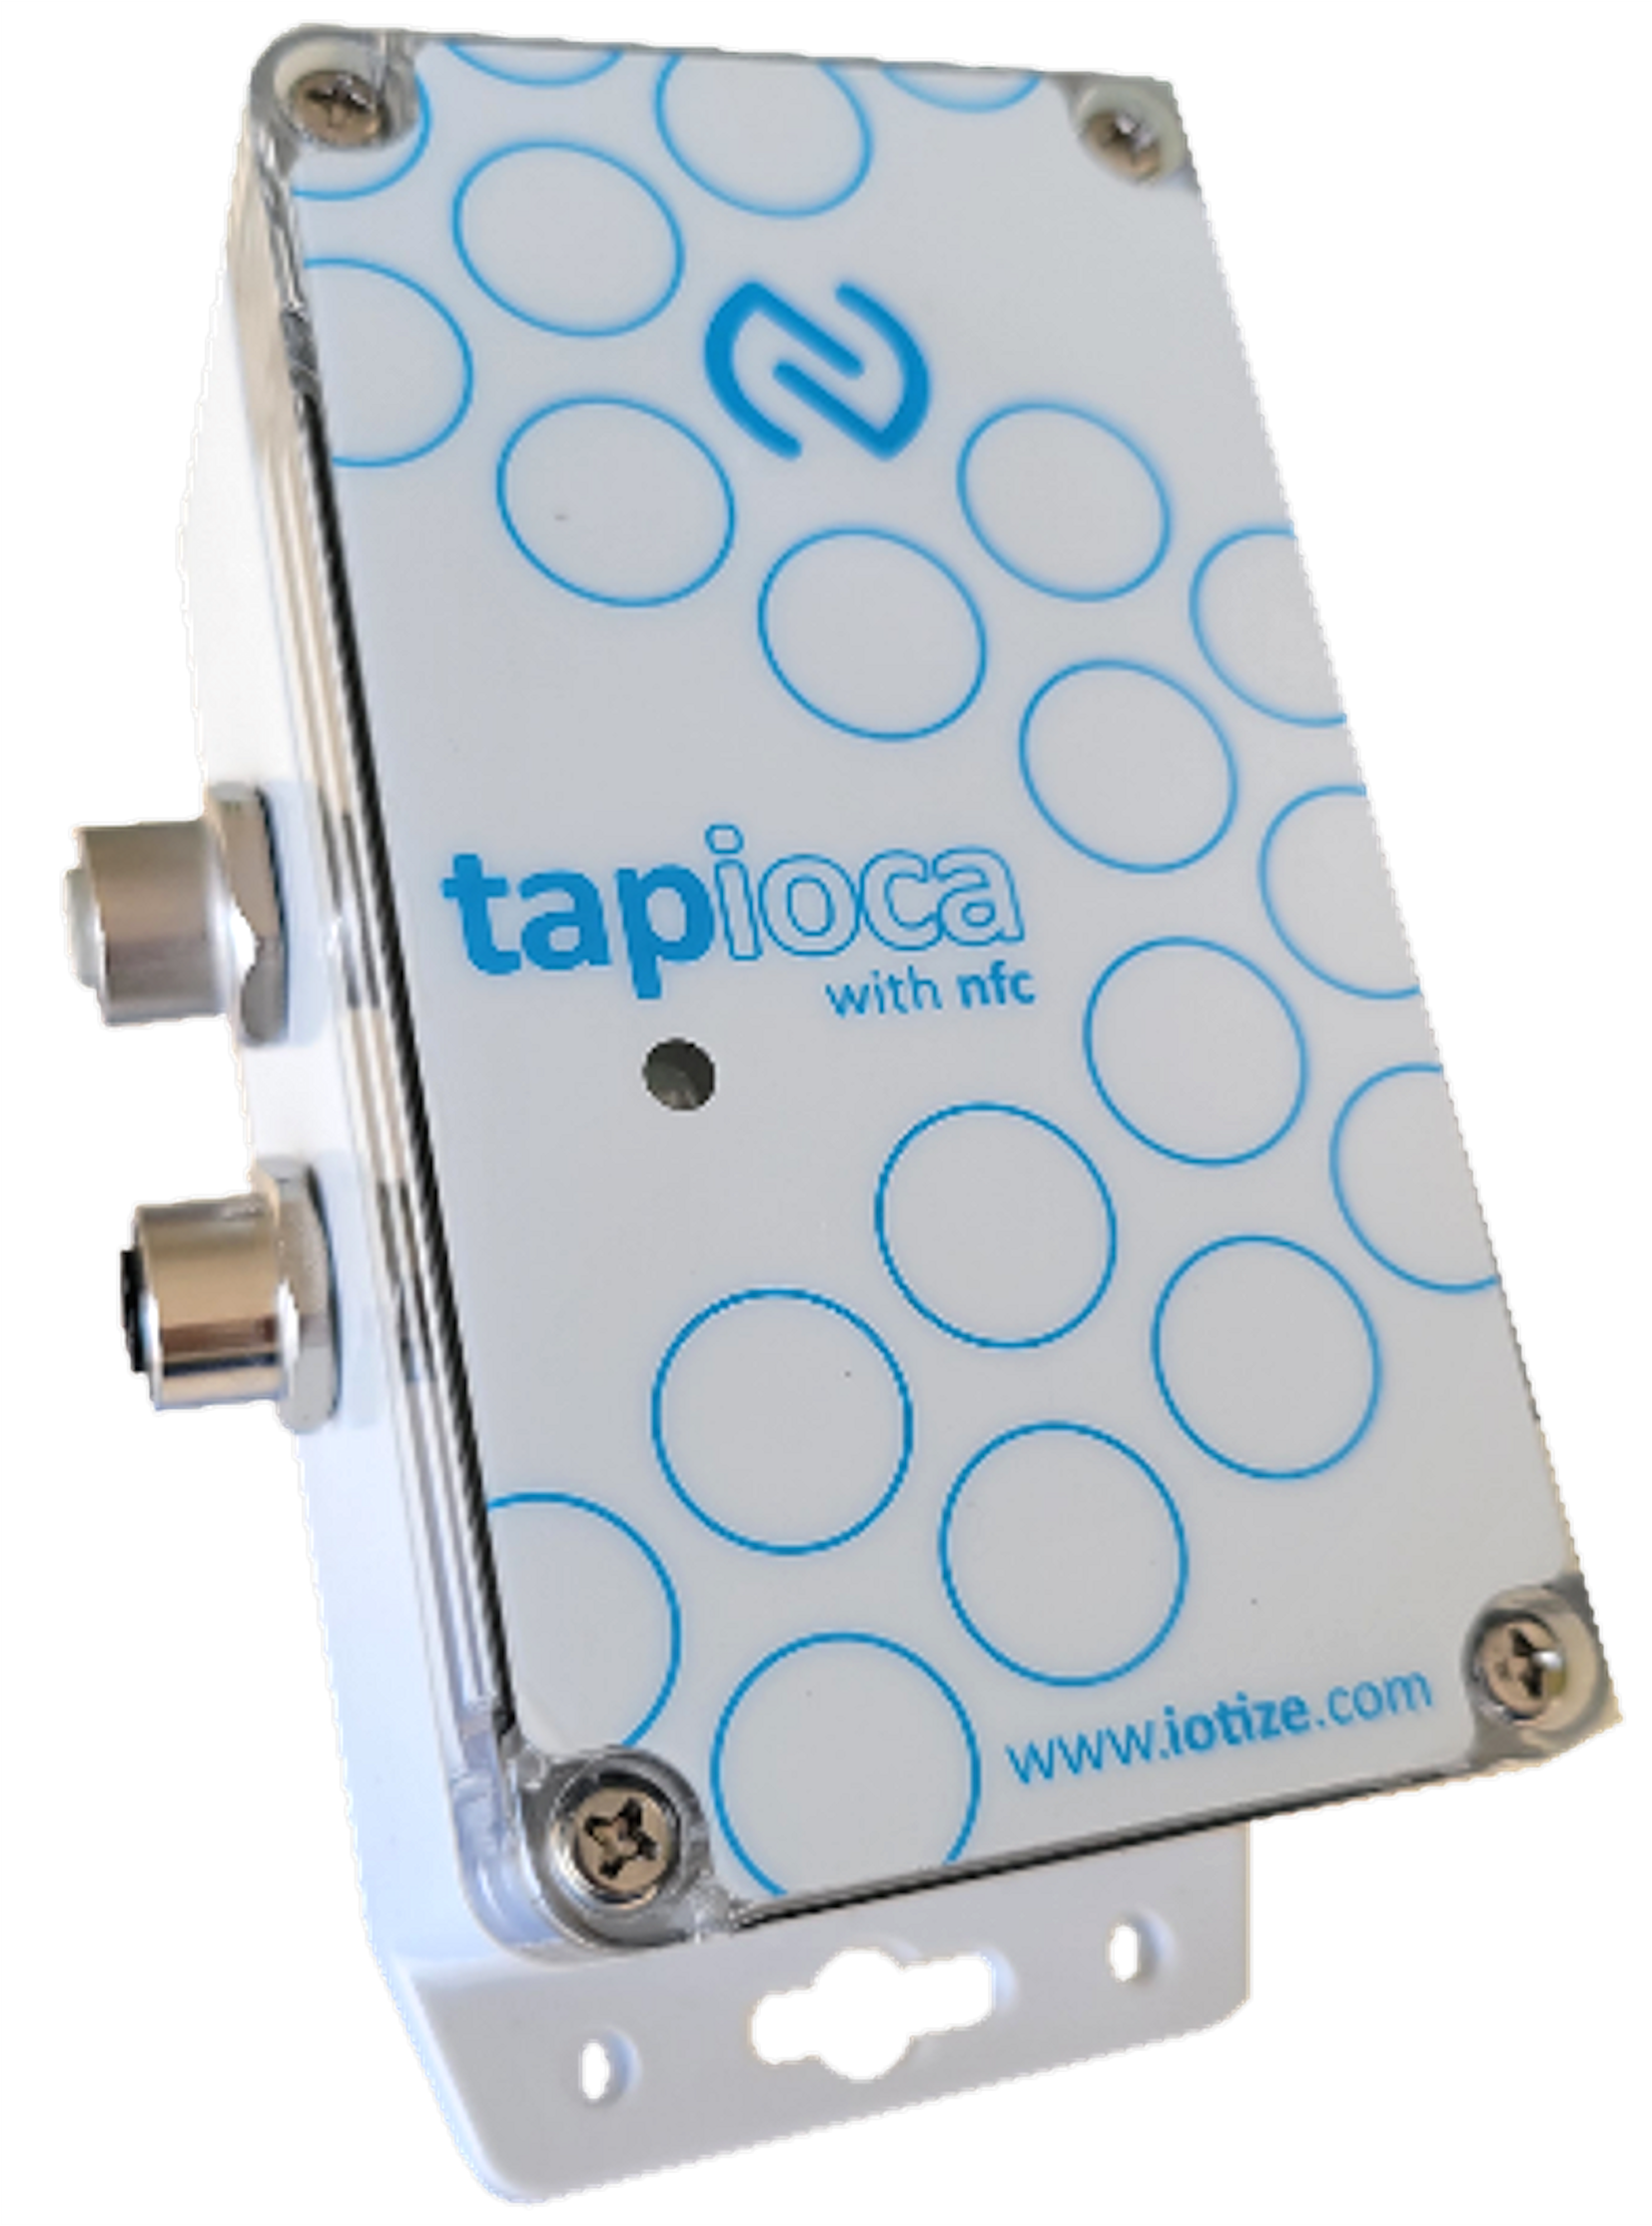
IP67 casing can receive optionally a LTE-M/NB-IoT or a LoRa extension.
-
IP67 casing can be mounted with either M12 connectors or glands.
These three 'step by step' tutorials for Tapioca communications applies to all versions of the Tapiocas:
-
The Modbus Direct tutorial gets direct access to modbus registers from a mobile application (e.g. IoTize Toolbox).
-
The Modbus Variable tutorial defines modbus registers as monitorable variables within IoTize Studio. Modbus can access variables securely through the access control mechanism.
-
The Modbus Slave tutorial configures the Tapioca as a modbus slave device, with its own set of variables accessible as modbus registers.
To go further
- The Modbus demo is a project that runs a light modbus server on a computer and uses the Tapioca USB to monitor some information through a mobile application.