Manuals/App Creator/Getting Started
First test
At this point, we can launch the preview mode to verify that our variables are properly displayed. We need first to select our TapNLink (Select device) in the left panel:
- select Bluetooth first,
- then click on the search button at the lower-right corner.
- you must then select the right device. In case, multiple devices are available, determine first the serial number of yours using Tap Manager on a mobile after an NFC connection (the last 5 characters correspond to the last 5 digits of the Serial Number). Note that if your computer or your browser does not support BLE, you will get the message: 'BLE scanner is not available'. In this case, an alternative would be to communicate via WiFi (if your TapNLink supports WiFi) or NFC with a mobile as relay (with the computer linked to the mobile via WiFi).
- You can now click onto the 'Play button (or the Start*) and navigate through the Tabs. You will see the temperature and the voltage changing (voltage should be probably very stable).
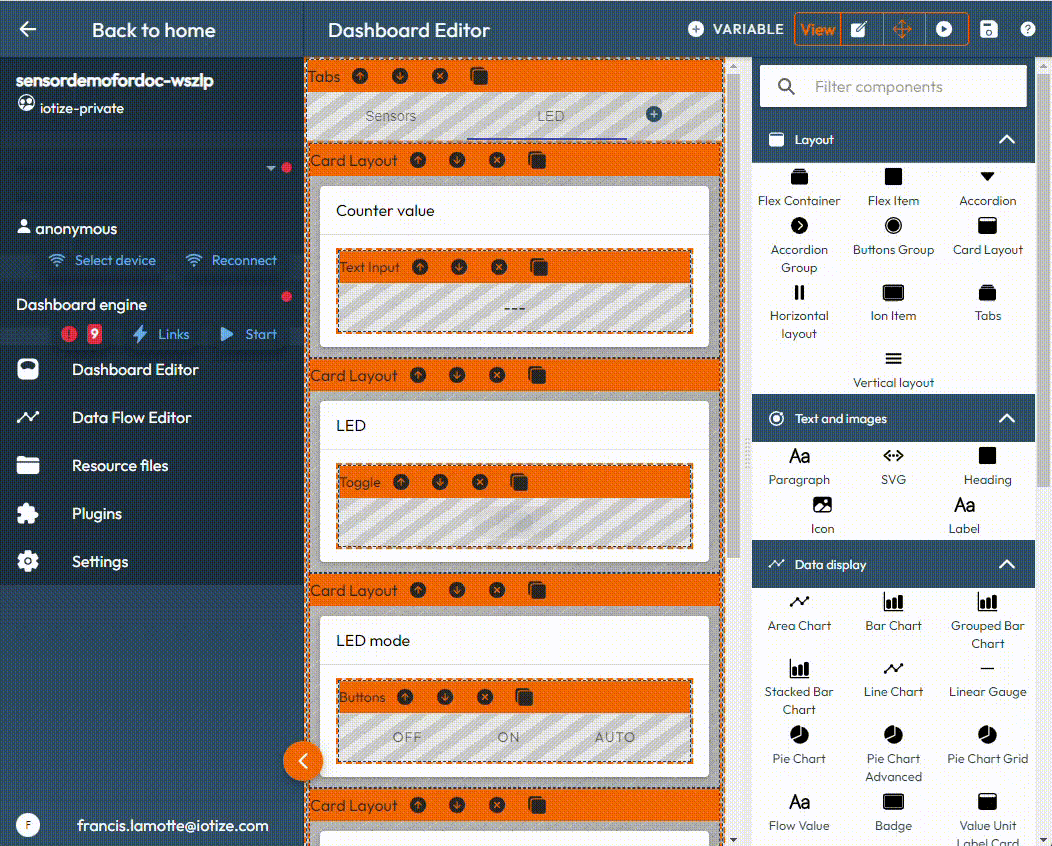
If we click on the ON / OFF / AUTO buttons, we see the state of the LED of the Bluepill changing.
Note: You can also use Tap Manager on your mobile phone to test. If you saved Tap Manager as the "App to launch" by NFC, tap your NFC mobile on TapNLink, and everything should be automatic. Note that the Editor automatically performs an 'admin/admin' login after connecting (you must login manually if you change this default login). When you connect your mobile, this automatic login is not performed and you have to connect manually.